


News

News
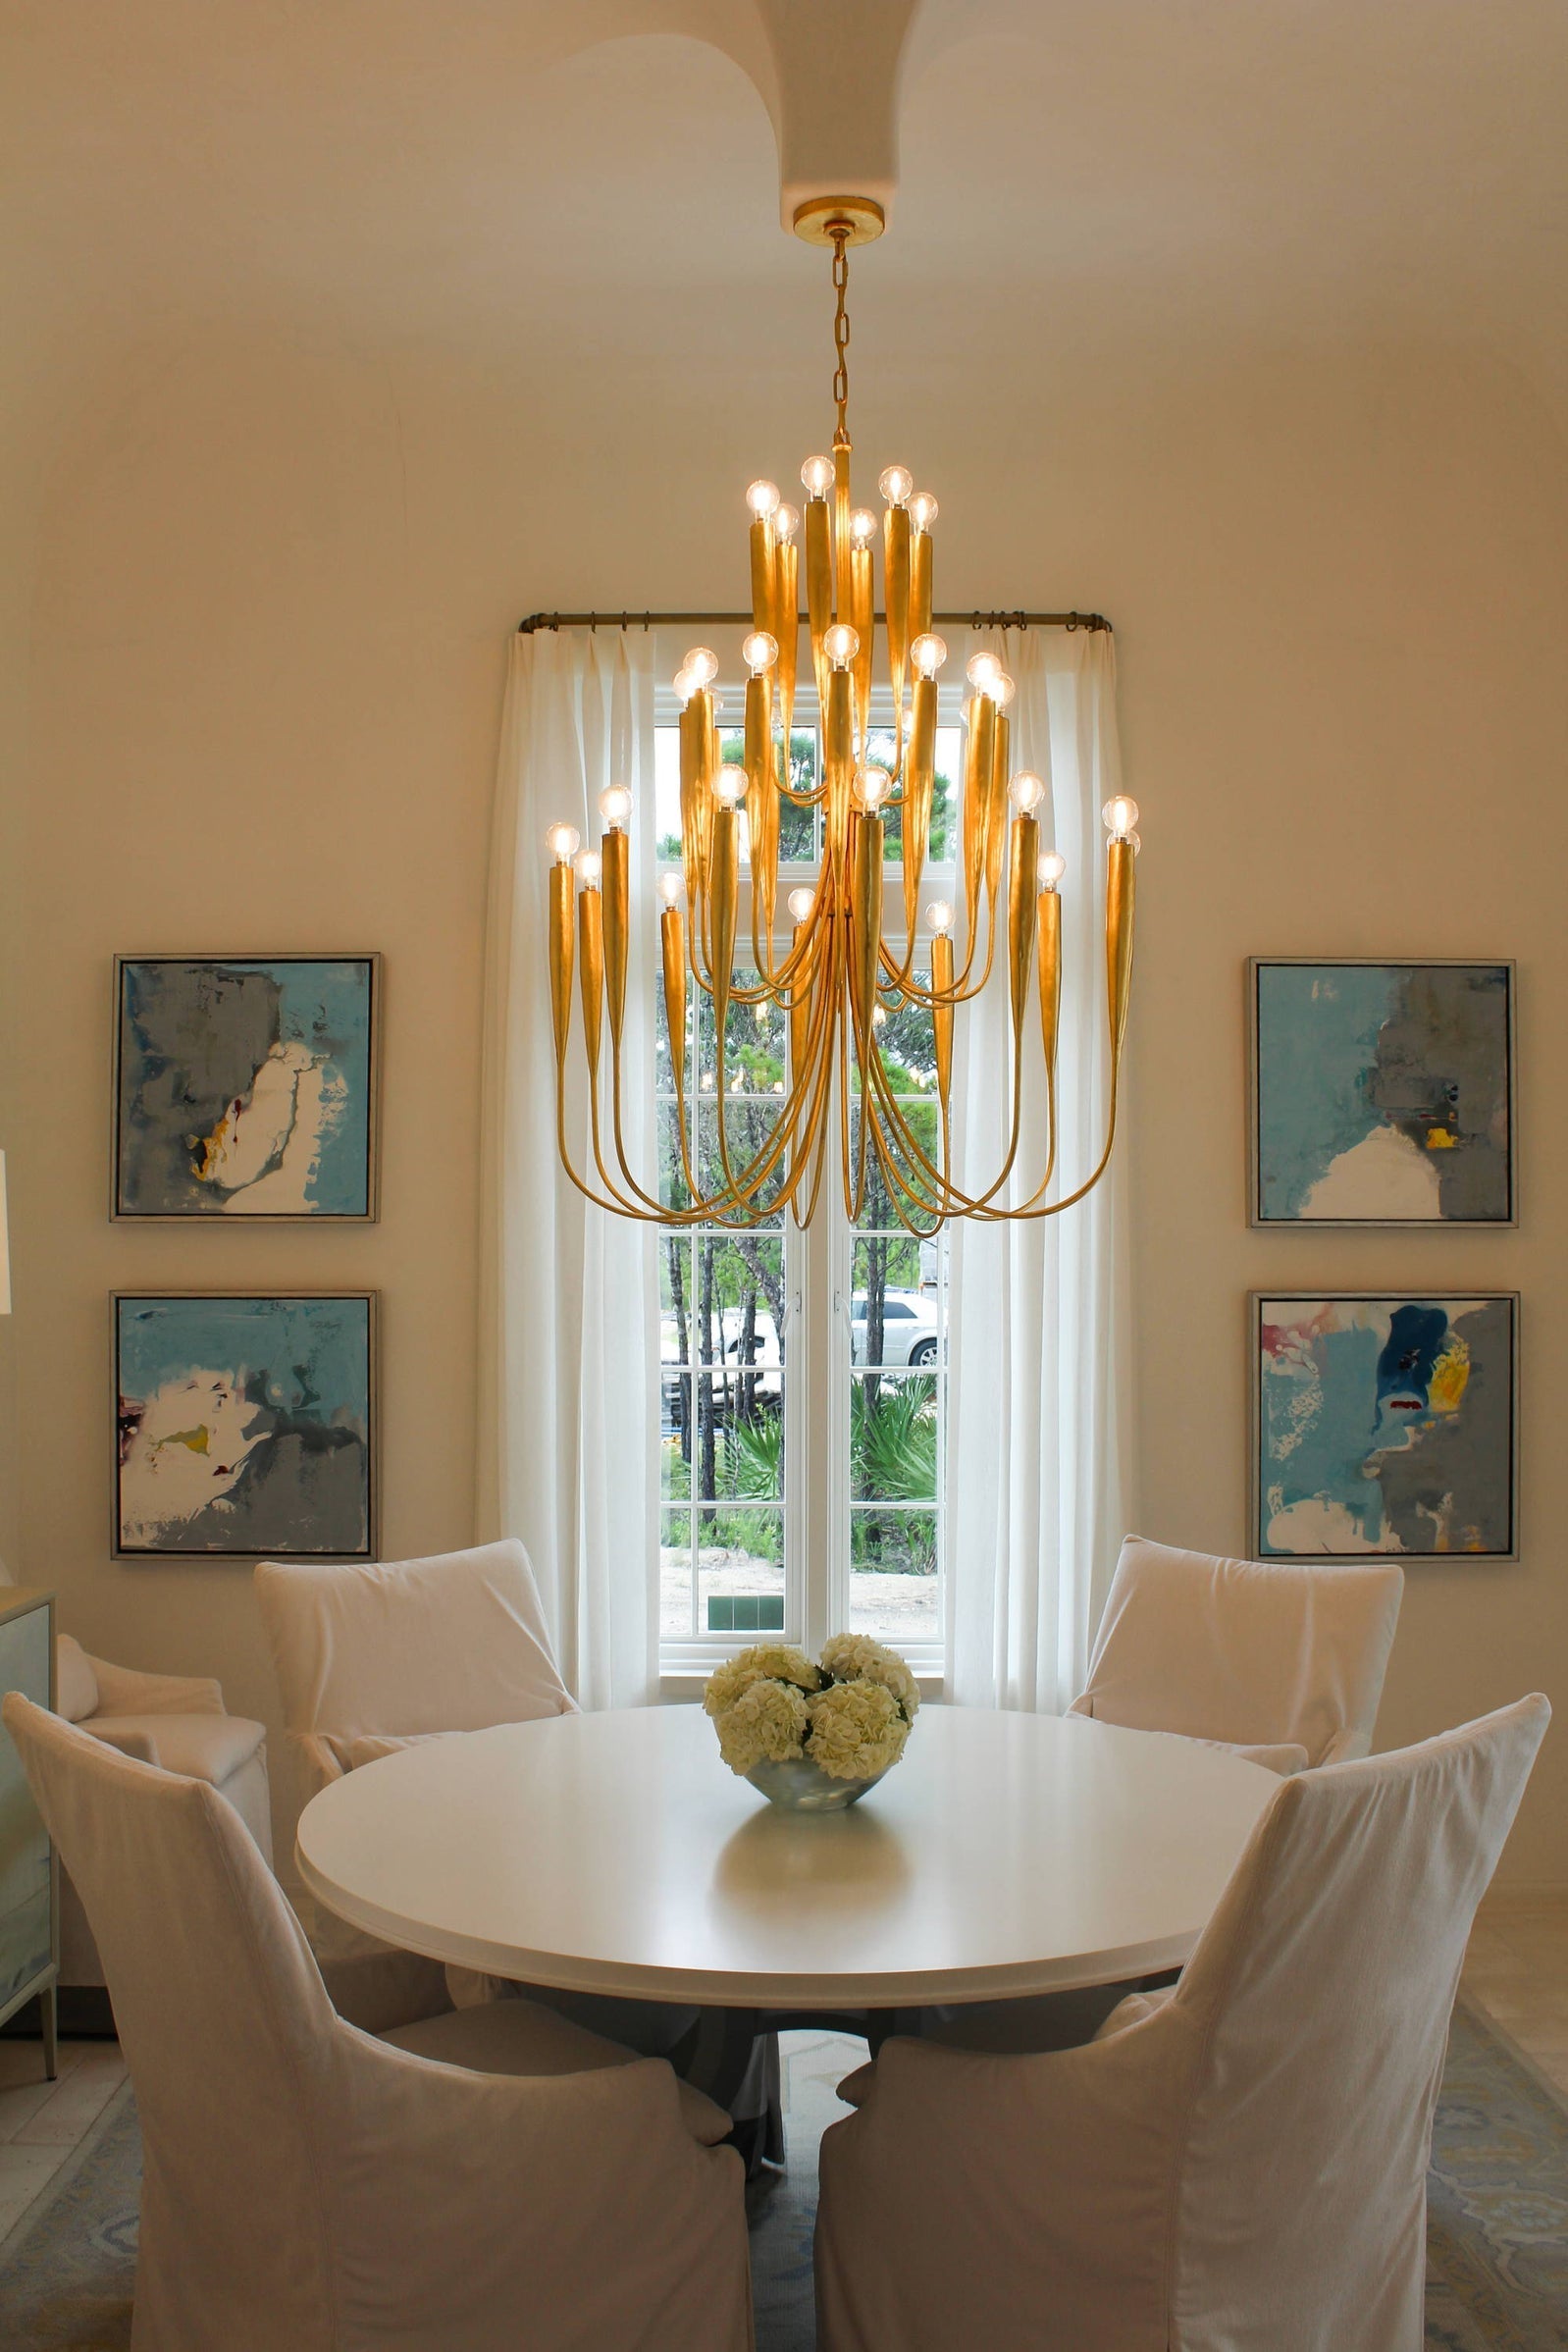
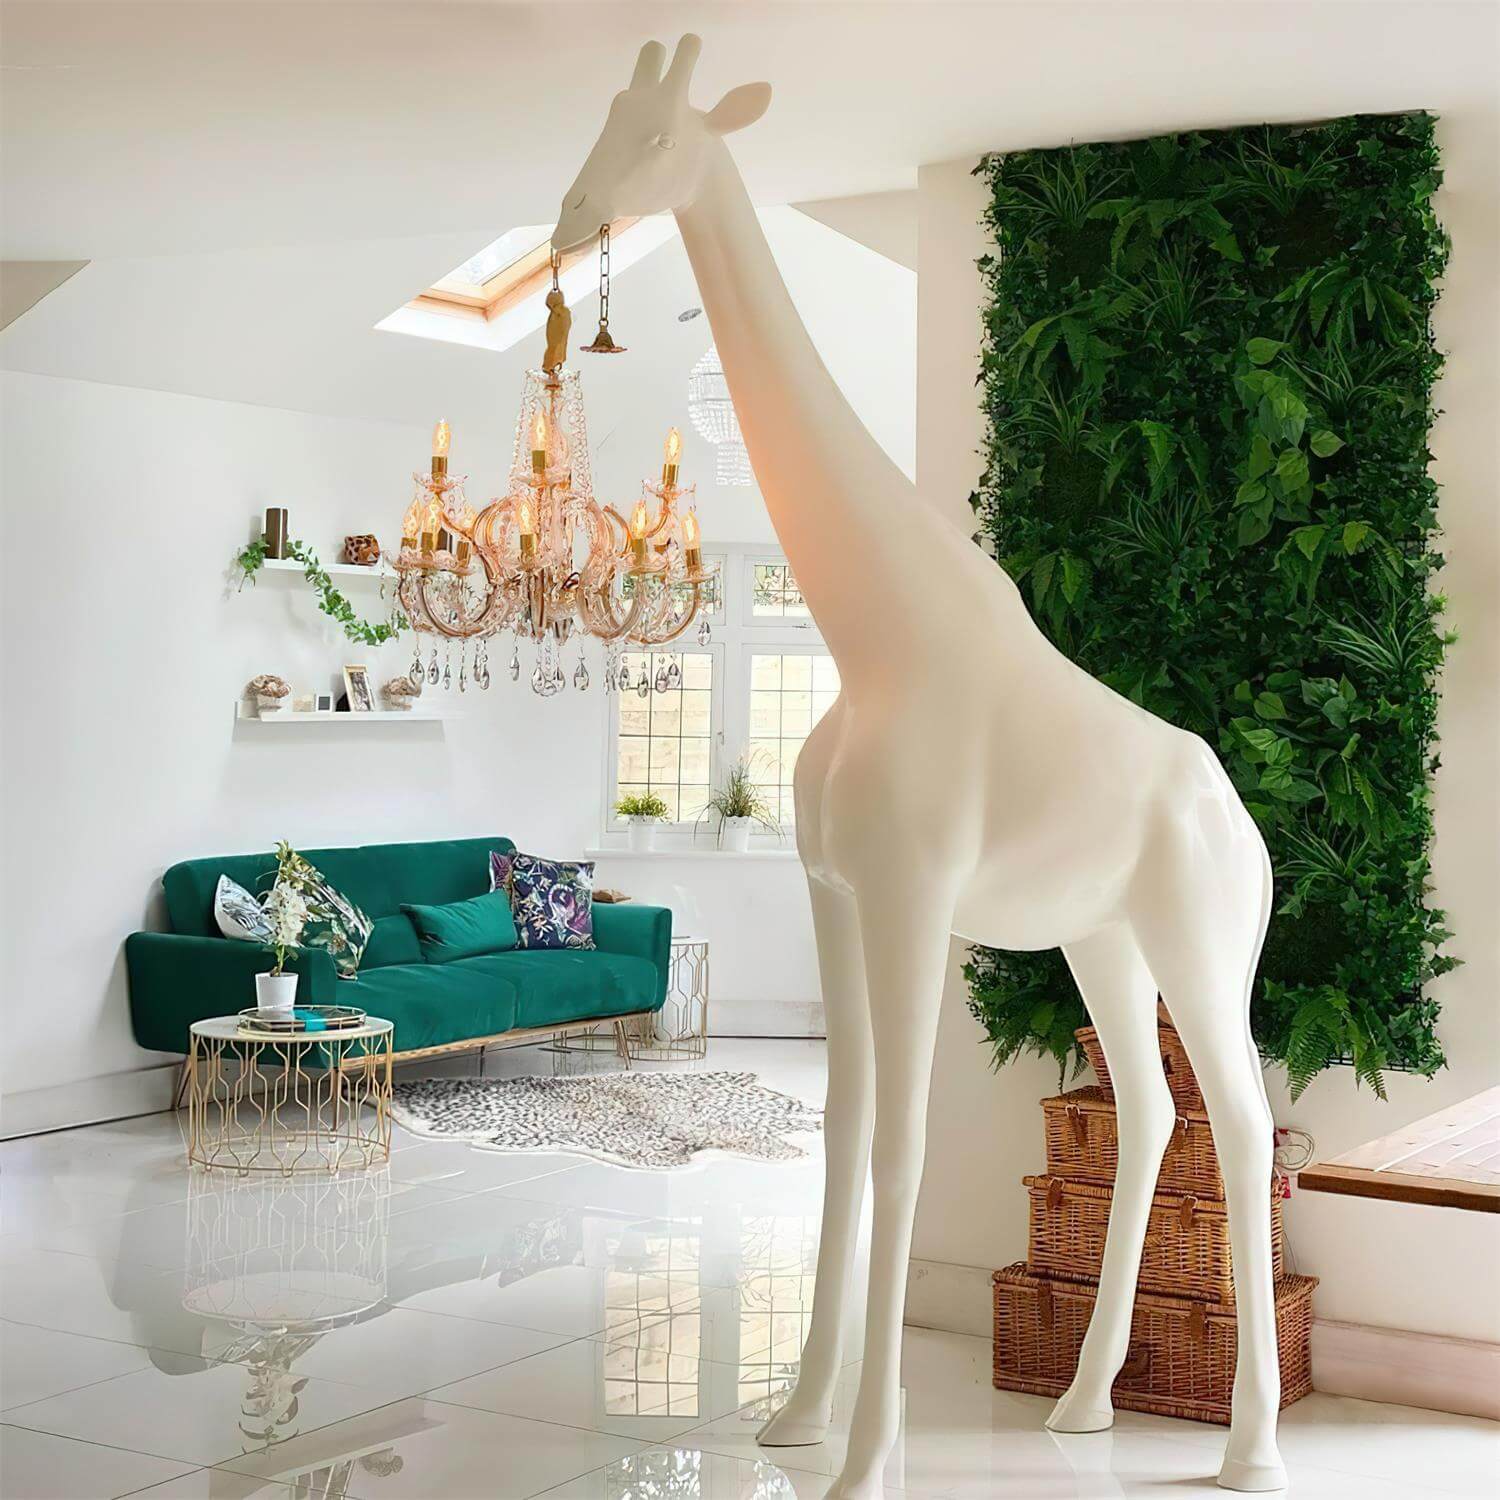
Lumen Levels: Making Sure Your Space is Bright Enough
You've picked the perfect light fixture, but once it’s installed, the room still feels dim, shadowy, or just plain off. Sound familiar? This common issue isn't usually the fault of the fixture itself; it's a matter of under-illumination—a simple case of not having enough lumens to properly fill your space.
News
Will LED Lights Harm Dogs’ Eyes?
LED lights are the most popular lighting technology today, but are they safe for dogs? Or are dog eyes as sensitive to light as human eyes?

News
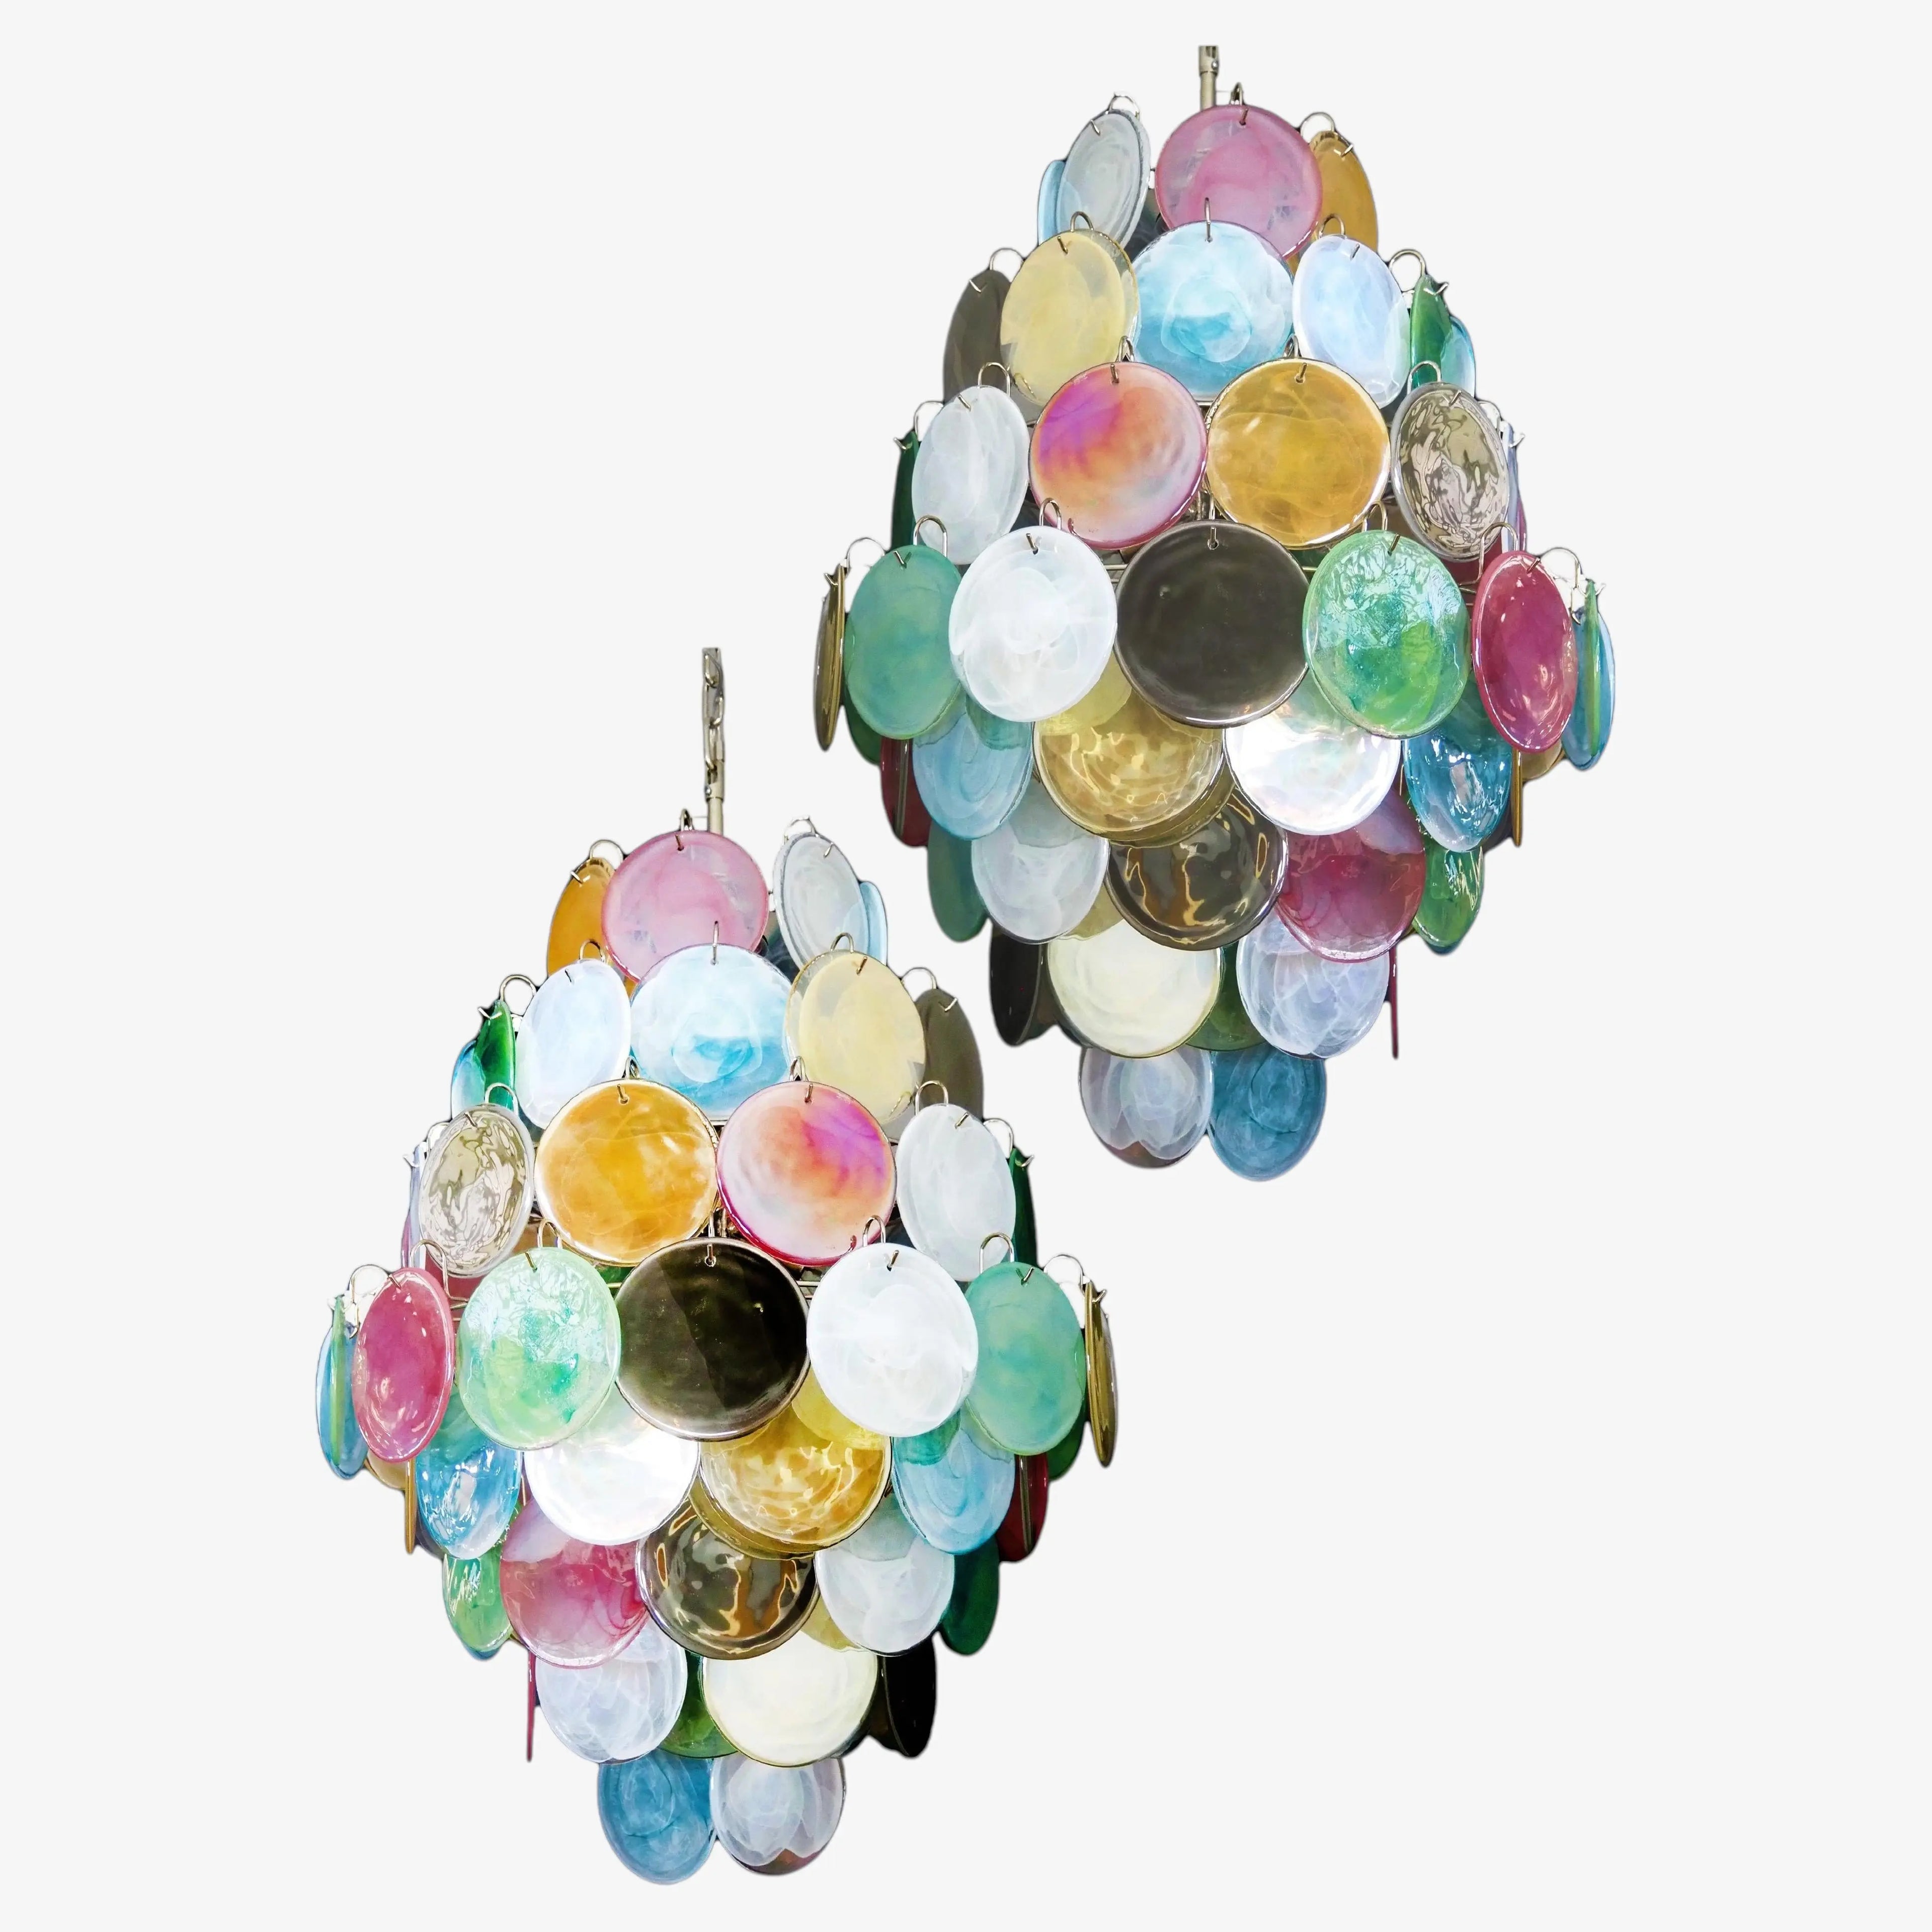
Do You Know How Stained Glass is Made?
Glassmaking is a magical and fascinating process. Mixtures are hot-melted, blown, forged, and polished to reveal a myriad of strange shapes
News
Do You Really Know How to Select A High-CRI Lights?
The sun shines on the most things in the world, but there are always places where the sun doesn't reach, so human invented the lamp.

News
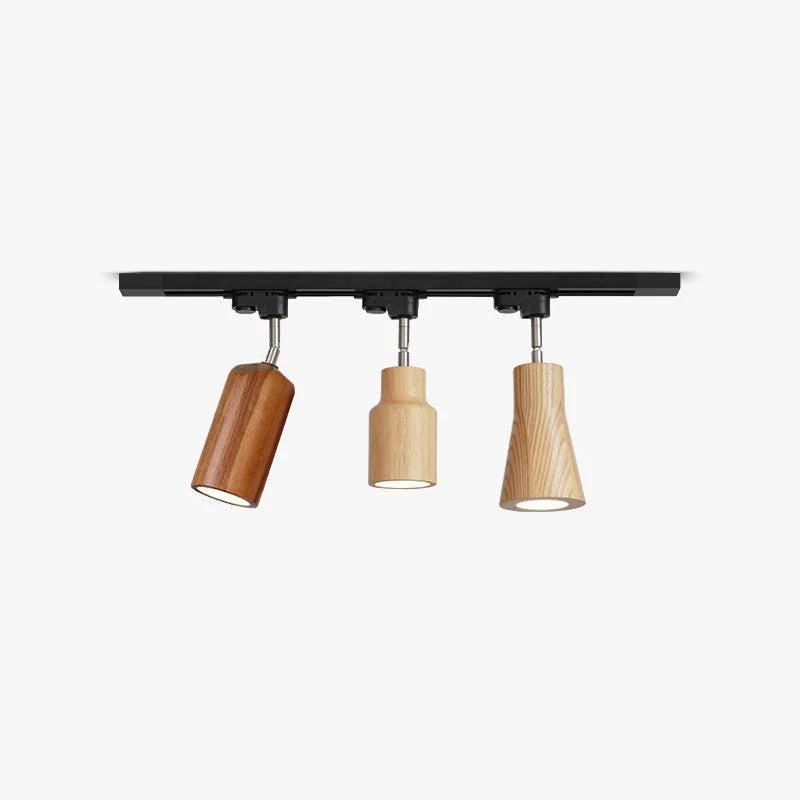
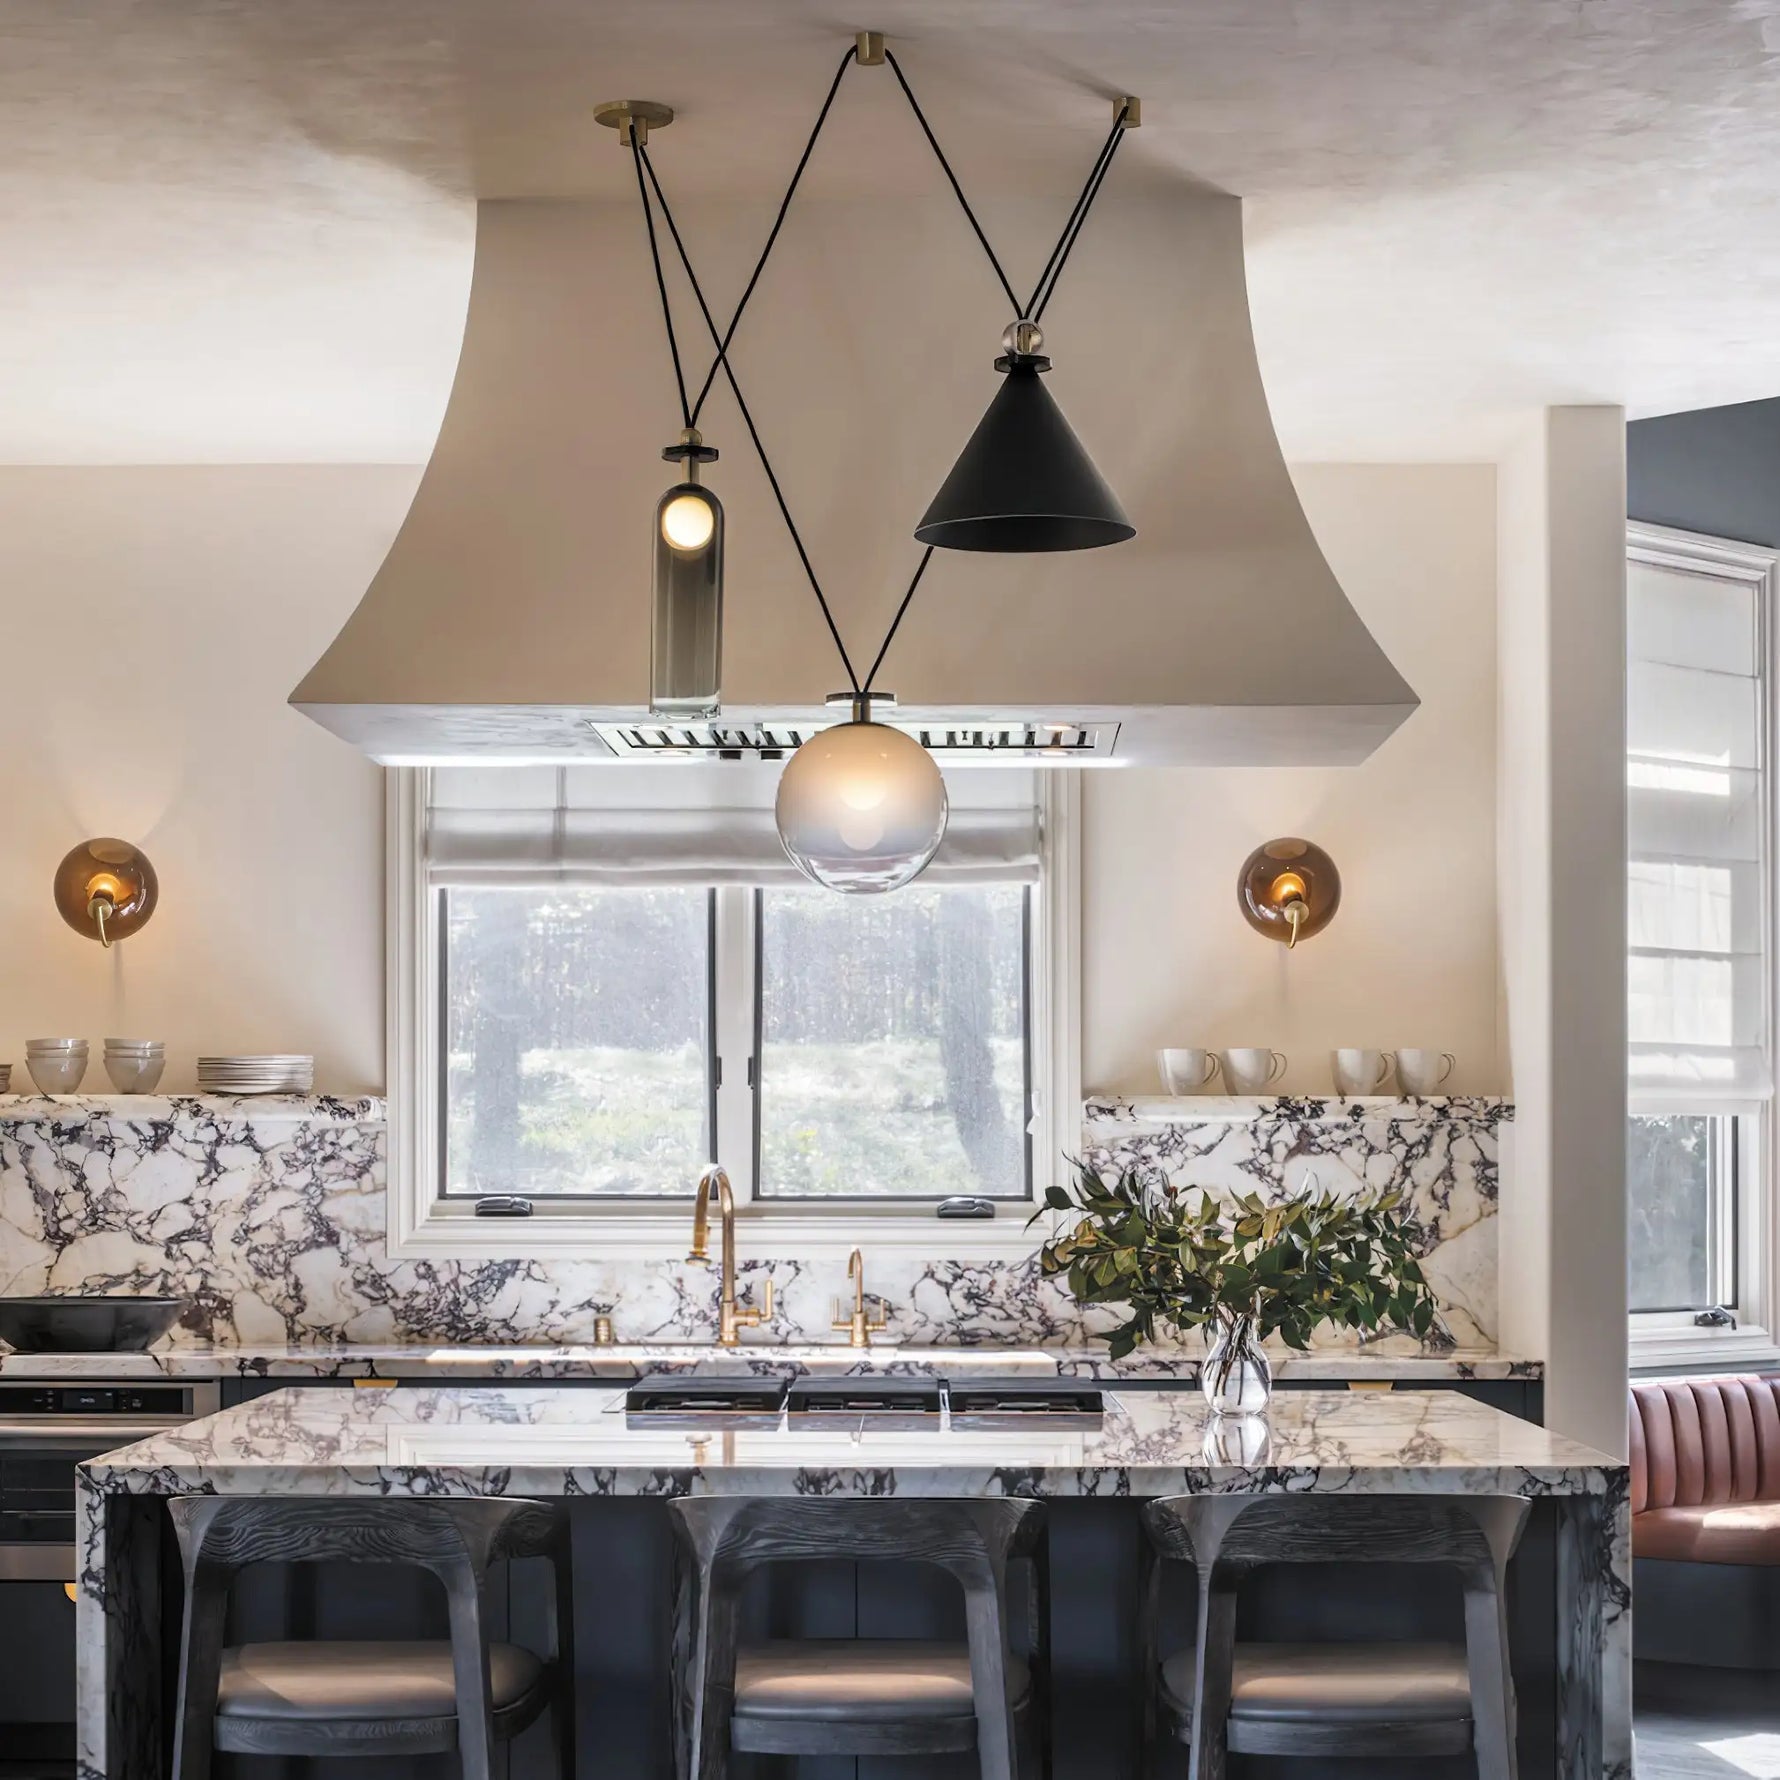
How to Pick the Best Light Source For Your Lamp?
Choose the most suitable light source for your needs based on the environment.

News
How to Choose Correct Plug Types?
This article lists the plug standards of various countries around the world for your reference.